Sunborn Shading Solutions has everything needed to meet and exceed your Installation and Project Management goals.
At Sunborn, we consider our installers to be our “secret weapon”. They are knowledgeable, experienced, clean, polite and eager to do the job correctly the first time.
We have installers who are on-staff employees, as well as a worldwide network of qualified installer teams. Since installers can make or break a job, we evaluate each project with the installer in mind to ensure a smooth installation process.
We coordinate installations across the globe with large teams or with individual installers. We also handle coordination for multi-phase projects.
Our experienced installers have done it all – from a single mini-blind to motorized shades that cover the entire backdrop of a professional stage. They are equipped to handle any project from interior to exterior and skylights.
We offer flexible options:
Full Service Measure & Install: A full service Measure and Installation is our preferred option. It eliminates chances for miscommunications between installers and production and keeps everything in house from measure to final punch list.
Measure & Production: If you have a qualified installation team and feel comfortable taking on a little more responsibility, then this option is for you. It does require more communication and coordination from your team. This is not our favorite option, but it is an option.
Production Only: Production only is for the brave at heart. Trusting that you have a great installer and management team is a great feeling, but in reality, there are so many things that could potentially go wrong. Because we want your experience with Sunborn to be the best it can be, this is our least favorite option.

How to Install Roller Shades
Tools You Will Need:
- Steel Measuring Tape
- Pencil
- Bubble Level
- Step ladder (if necessary)
- Screwdriver or power drill (optional, drill bits)
- Fasteners or screws
Helpful Hints Before You Begin Installing Roller Shades:
- Carefully unpack your shades and all mounting hardware.
- Familiarize yourself with the contents of the box and ensure all installation hardware is included. You may have Fascia or Side Channels packaged separately, locate all parts needed for your specific installation.
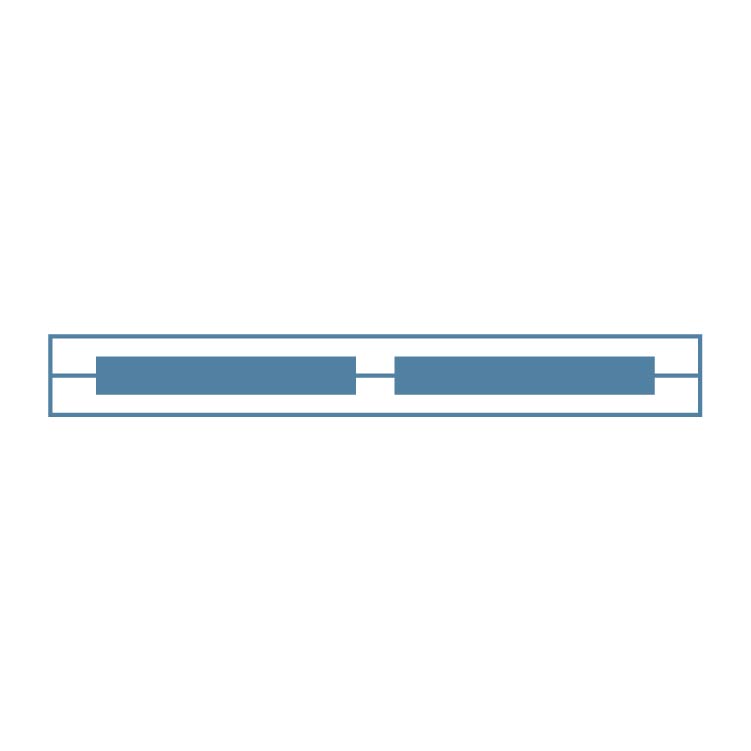
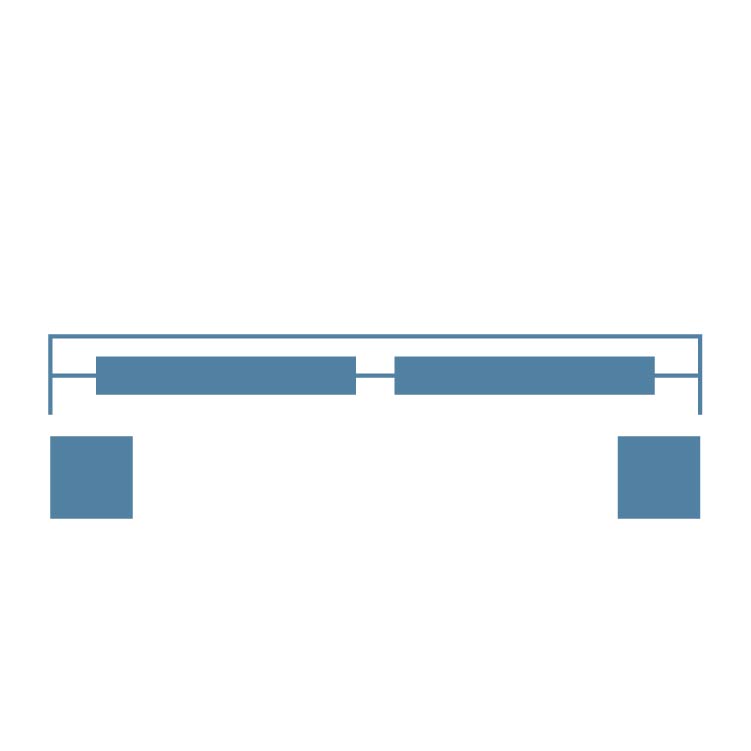
- We offer several types of brackets depending on the type and size of the shades. These instructions are for our most common Non-Fascia Dual Shade Brackets.
For Inside Mount Dual Roller Shades, follow these simple steps:
- Hold your brackets at the top right or left of the window, close to the frame. Make pencil marks in the best mounting holes, you have 3 sets to choose from. Sunborn recommends a minimum of two fasteners per bracket. If desired predrill the holes.
- Hold your bracket up to the marks (or holes, if predrilled) and secure the bracket. Repeat this process on the other side for the second bracket.
- Use a steel measuring tape or level tool to ensure the brackets are straight.
- Mount the Blackout shade – Idle end first – put the spring loaded pin into the center hole on the idle end bracket; then align the two tabs on the control side and gently tug downward to ensure they are locked into the bracket. Repeat with the Solar shade.
- Test your new shades. Pull them slowly to ensure even tracking across the shades, adjust brackets up or down as needed to get the tube as level as possible. This is a critical step, if the shade tracks damage could occur.
- Install and test the stop beads so that your shades can be adjusted exactly how you want them
- Hold the side channels against the wall aligned with the fabric drop of the Blackout shade. Secure the side channels to the wall through the bottom of the “U shaped” channel (predrilling makes this easier) Sunborn recommends a minimum of 3 screws per side channel. Repeat for other side. If you had to trim the height of the channel crimp the ends so the felt doesn’t slide out of the channel or mount the cut end downward.
- Install the chain guides, there should be no tension here, the bead stops should move freely through the center hole.
Our Project Managers have a variety of experience making our team the best in the industry. Because communication is the key to success, our team works with everyone on the project to ensure that nothing is missed.
- We contact Architects and assist them with technical data prior to construction. We also help obtain drawings so our clients can focus on larger issues.
- We work with Designers and often provide fabric samples and selections tailored to fit their needs. We help designers develop industry specific terminology to be included within their Specifications.
- We work with Purchasing Groups, helping them with budget quotes, Purchase Orders and logistics.
- We work with Contractors to obtain job site updates and schedules, schedule site visits and answer technical questions.
- We work with Production. Whether it’s our internal production or an outside vendor’s production team, the scheduling and quality of production is vital to a successful project.
- We work with installers – yours or ours. It’s crucial to keep the installers updated about shipping schedules, installation dates and expectations.
Our work doesn’t end when the installers leave. We follow up to ensure the project is complete and the customer is satisfied. We provide a care package with spare parts, care and maintenance schedules and programing education.
Whether you’re looking for a multi-phase, multi-billion-dollar project or a simple budget quote, we have your solution. Our Project Management team is ready and eager to help. Call or email us today and let us get started on your project!